Hi readers!
Second week of MM19, I'm in perfect time -small monster, I managed to do the steps of this post last week -, and I'm somewhat proud of it. I've thought that it could be nice to do a tutorial during the event, so here we go!
Visualizzazione post con etichetta Tutorial. Mostra tutti i post
mercoledì 13 marzo 2019
LXVI - Monster March, second week: tutorial, rust with salt
Etichette:
chaos,
death guard,
event,
monster march,
nurgle,
Tutorial,
wh40k
giovedì 12 ottobre 2017
LXI - Tutorial: Skeletons and bones
Hi readers!
It's been a while since I posted something, however here we go, with a new post, a tutorial about Skeletons and bones.
As you know, my gory attitude is quite strong, so generally I paint skulls and bones ( the most common gadgets in WH40K and AoS) simply with some white and covered them with blood, like fresh fruits peeled off (uhm, quite grim also for my standard).
It's been a while since I posted something, however here we go, with a new post, a tutorial about Skeletons and bones.
As you know, my gory attitude is quite strong, so generally I paint skulls and bones ( the most common gadgets in WH40K and AoS) simply with some white and covered them with blood, like fresh fruits peeled off (uhm, quite grim also for my standard).
martedì 9 maggio 2017
LII - Tutorial: (not the usual) Golden Stormcast
Hi readers!
I am painting a quite big group of Stormcast Eternals, the starter pack army to be precise.
They are not the first stormcast to suffer my attention -the old one were painted in grey and black-, but this time I decided not to invent a painting scheme, but to try do twist the golden classical one to my ideas.
I am painting a quite big group of Stormcast Eternals, the starter pack army to be precise.
They are not the first stormcast to suffer my attention -the old one were painted in grey and black-, but this time I decided not to invent a painting scheme, but to try do twist the golden classical one to my ideas.
giovedì 13 aprile 2017
XLVIII - Tutorial: Nurgle Humans
Hi!
I am painting the blightkings so I've thought that it could be interesting to discuss with you, dear readers, how I paint them and Nurgle humans in general.
This is going to be the same painting scheme of the Glottkin two small bros, and the riders of the Maggoth Lords.
As always it is not the best way to paint them, but simply my way, hoping to be helpful. I think you can bend this to all the Nurgle humans, also for 40k. I wanted a really dirty and rusty result, so this painting scheme is going to make your miniatures a clot of dirty and rust.
I am painting the blightkings so I've thought that it could be interesting to discuss with you, dear readers, how I paint them and Nurgle humans in general.
This is going to be the same painting scheme of the Glottkin two small bros, and the riders of the Maggoth Lords.
As always it is not the best way to paint them, but simply my way, hoping to be helpful. I think you can bend this to all the Nurgle humans, also for 40k. I wanted a really dirty and rusty result, so this painting scheme is going to make your miniatures a clot of dirty and rust.
mercoledì 4 gennaio 2017
XXXI - Tutorial: Nurgle daemons
Hi!
As you are seeing, I am working on a big (for my standard) group of Nurgle miniatures, daemons and "humans". Probably this is going to be Nurgluary, or something similar (probably Plaguary... well I am not so good in these things!).
However, once I made a tutorial about Nurgle daemons but it is floating somewhere in the Warp, so I decided to do another time it, with some variations: that post was one of the most read on the old blog, and painting Nurgle is damn fun, so here we go.
N.B.
I have removed the downloadable tutorial, they did not convinced me at all and, frankly, quite useless imho. I left the grid with image, and the step by step are going to be in a classical way. Hope you enjoy it.
As you are seeing, I am working on a big (for my standard) group of Nurgle miniatures, daemons and "humans". Probably this is going to be Nurgluary, or something similar (probably Plaguary... well I am not so good in these things!).
However, once I made a tutorial about Nurgle daemons but it is floating somewhere in the Warp, so I decided to do another time it, with some variations: that post was one of the most read on the old blog, and painting Nurgle is damn fun, so here we go.
N.B.
I have removed the downloadable tutorial, they did not convinced me at all and, frankly, quite useless imho. I left the grid with image, and the step by step are going to be in a classical way. Hope you enjoy it.
mercoledì 5 ottobre 2016
XXV - Tutorial: fast Dark Metal
Hi readers!
Today a tutorial revamped, the fast Dark Metal. This version is easy and fast, with sponge and nice results!
Painting dark metal
STATS
giovedì 29 settembre 2016
XIX - Tutorial: blood drops
Tutorial: how to create Blood drops
XVIII - Tutorial: death undergrowth
Tutorial: how to create Death Undergrowth
In this tutorial I'll show how to make an insane undergrowth. I think that the base is very useful to give a flavour and atmosphere to you miniatures.
martedì 20 settembre 2016
XIV - Tutorial: how to paint Age Of Sigmar Khorne Bloodreavers
Tutorial: how to paint Age Of Sigmar Khorne Bloodreavers
I decided to make them dirty, because I cannot imagine bloodreavers using a shower (maybe with blood), and neither choose nice pants or using a washing machine (maybe this is going to be a new Khorne engine, bloodwashingmachine, it is going to work putting skull in).
Anyway, the scheme is simple and very funny, because I decide to use some techniques that I love: we are going to see them later.
After using chaos black spray as primer I put a first (two) layer of colours. When I've no idea of the results, I decide to paint more or less all the model with one colour to easily imagine the results.
In the tutorial I'll put the step and above or under a photo of the colour used.
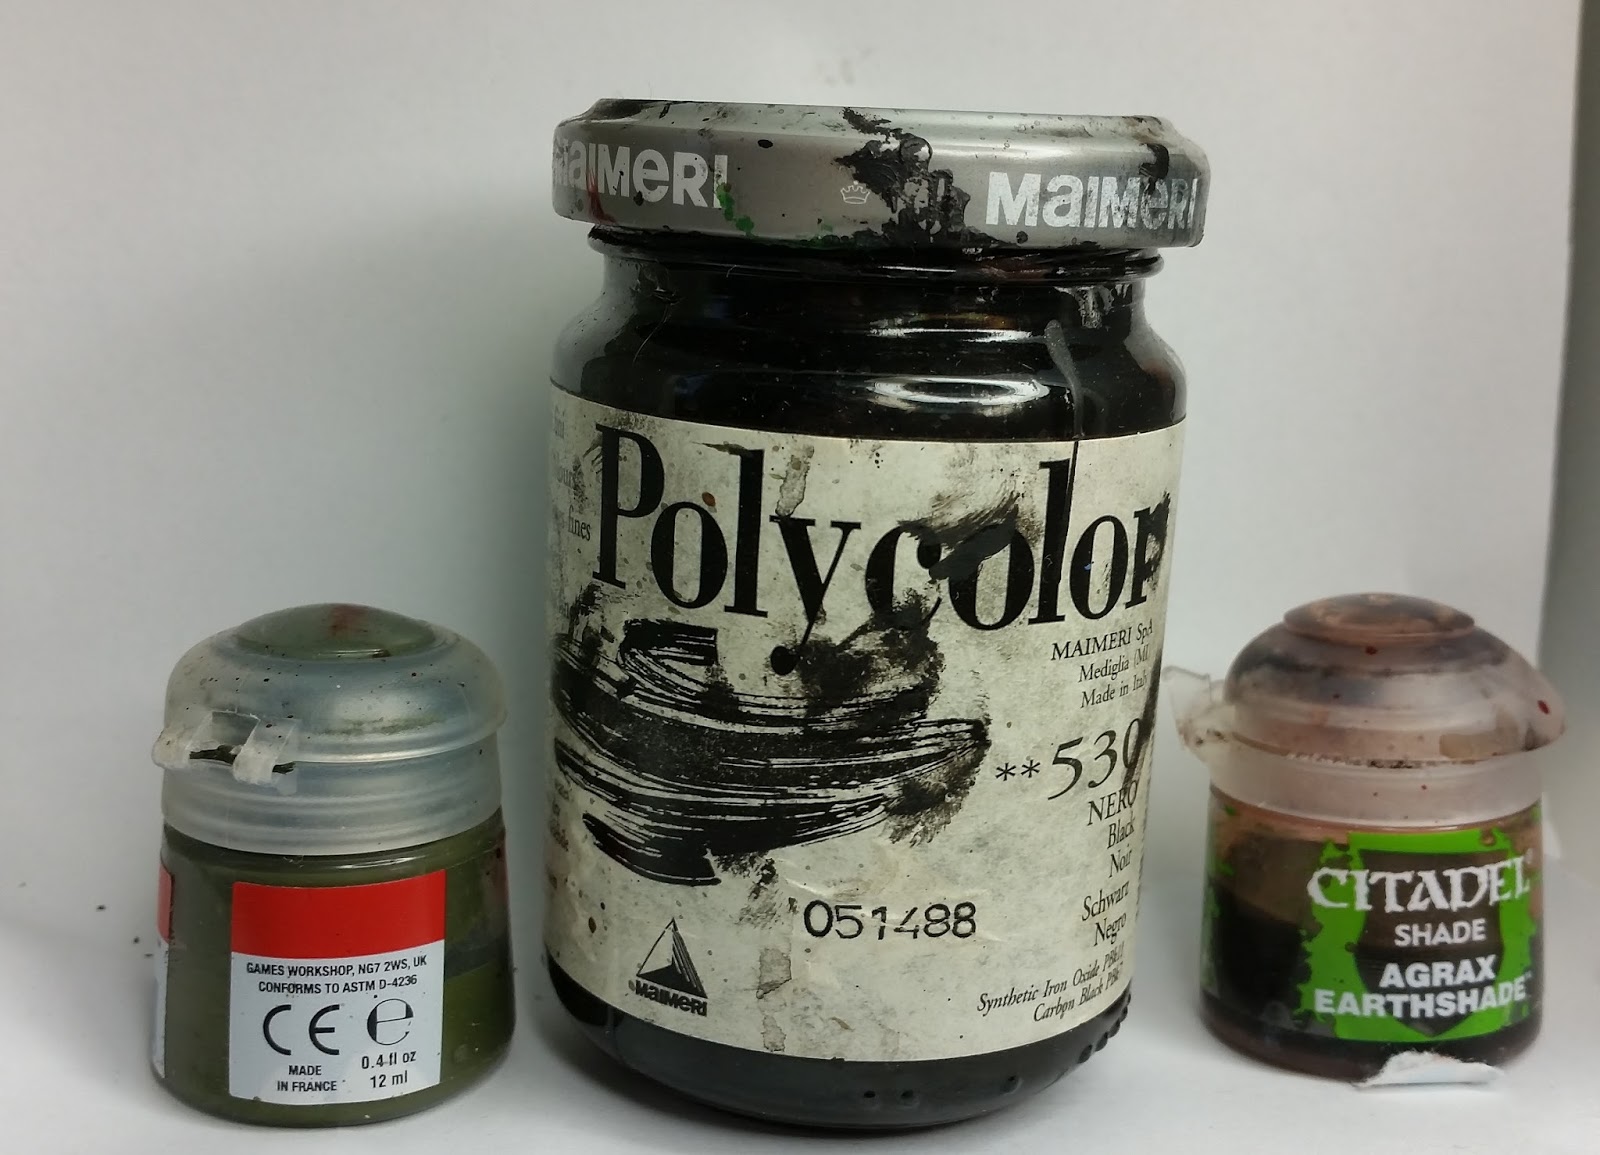
After that, lets make some shadows. I use also an incredible colour but I do not know if you can find it everywhere. This is a strange black, because it is a bit brown and very very matt: once dried, it seems like coal. It is useful for stones and shadows, because it is less aggressive and more natural than chaos black, but you can use a mix of 1/5 of brown and 4/5 of black. I dilute the colours to create some wash. This is a technique that I often use: it is like wet blending, but with washing and more muddler: put some wash into your miniature, than add another in another place and so on: you'll mix the wash and give irregularity that I love so much. For this miniature I use these colours, because they are (for example) not dead, only muscled and dirty. I give two layers of this wash, one very random (except the catachan green only on pants), the sencond less random.
After that, lets put a pair of layer of the base colours.
Highlights, metal, red: simply a layer of red gore and highlights of clear red, after shades of a wash of black; for chipping the red, lets make some spot of black, than a bit of boltgun metal and chainmail.
Dirty: add water to black, and green like the second step, and use also the agrax earthshade. Use a old brush: dip it into the colours and, with your finger, spray it on the miniature. If you dry a bit the brush, the dots are going to be smaller. This technique is going to stain also everything (now you can understand why my pots are all spotted!).
lets base with death undergrowth, add a blood drop it and here the full results!
As you can see, I'm quite messy in painting because it is important to have this results (and also is my way of painting!!!), so, if you want any explanation, comment without problem!
Hoping to be helpful!
What do you think about?
XI - Tutorial: how to create gory filaments, clots and slime
Tutorial: how to create gory filaments, clots and slime
First, some theoretical aspects.
After watching things like TWD, searching corpses images in the Internet, and other things that normally you should not look at before a meal, I decided to follow some of rules that help a lot during your Goring Time (dunno if this combination of words exist but, as an Adventure Time fan, citation is compulsive: Jake surely approves):
-gore is controlled disorder: it is not simple to have clean dresses or armors when you're butchering a couple of men, but not completely casual;
-gore is variety: when you see bloody guts, these are not red, but a mix of different reds, blacks;
-gore is different if it is old (dark), or new (clear), venous (dark), arterious (clear);
-gore is transparent but also thick, so it is has different finish in the same miniature;
-too much gore=not reality (hardest rule);
-gore is fun to apply to your miniatures!
Ok, after this (undoubtly) disgusting theoretical features, the practical issues.
INGREDIENTS
As you can see, I use two kind of UHU glue: the smallest is the classic one, it is useful for small filaments (generally you use it for mouth slime like I've used in the Khorgorath tentacles hand) and the biggest one is useful because it creates bigger filaments and orrible clots. It is also more resistent for gaming purpose but it whiters easily.
I do not use the famous Tamiya Clear Red because I'm lazy and Mommy GW provides me BFTBG. Also I've read somewhere that the Tamiya one is toxic, and assuming toxing thing to create sick miniature is too much ironic IMHO.
Well, lets start with the tutorial.
First, mix BFTBG and black till you reach the nuance you want and,with a bigger brush than you would use for this purpose, add it on the scars/guts/arms/biscuits. After the colours dries, if it is too much flat, use black for other shadows and and pure BFTBG on the edges. Remember it is not necessary to paint perfectly the target before apply the gore, but if you have put a hand of base and some shadows, it helps a lot. Logically if a part is not covered by gore, you should paint it at the level you want reach.
As you can see there are darker areas, clearer areas and transparent and matt areas. Sometimes put a thick and of the BFTBG and black mixture is better than a thin one (exactly the opposite when you paint). Try to make it natural following shadows, Light and Gravity.
Do not exitate to put other BFTBG or black when the colour is not dry: this ignorant way of wet blending technique is incredible for those things.
BFTBG is glossy but adding some colours can give a matt finish so, if you want, add an and of glossy paint.
Mix a some UHU with BFTBG and black(these two colours possible in the same proportion of the first step): remember, if you use the bigger UHU, it is yellow, and in one hand you should add more red/black to cover this, in the other hand you can create morbid -in all senses- nuances of gore.
Apply the mix with a toothpick or everything you want: remember, the "bigger UHU" whiters fast so it is useful to make more mix than you want.
Decide where the gore filament start, put the toothpick with the mix on this place, and pull it till the arrive. Remember that it is better that the start and the arrive are places with the mix of BFTBG and black. After you can carve the gore to not have only straight filaments and generate clots.
In my example, I've put not too much gore because this miniature is going to have a very gory standard.
After the filaments are ready, if you've used the bigger UHU, you can paint them to give other nuances and glossy finish (but please be veeeeeeeeeeeery gentle with the filaments with your brush if you want not warp them: the more a filament is thin, long and suspended, the most is delicate).
If you want, you can add dots (in this tutorial) and blood drops.
As all the technique, it takes a bit of time to create what you want: after few day you'll be able to make different dimensions of filament, clots and also menbranes: you'll see more example in the next post.
Hope to be helpful and if you have any question please comment here!
Iscriviti a:
Post (Atom)